Procedure

Joint Replacement Surgery Procedure

1. Preoperative Assessment

  • Patient evaluation and medical history review.
  • Radiological imaging (X-rays, MRI) to assess joint condition.
  • Blood tests and other diagnostic tests to ensure the patient is a suitable candidate for surgery.
  • The orthopedic surgeon assesses the patient’s overall health, medical history, and any pre-existing conditions.
  • Evaluates the patient’s ability to undergo surgery and recover successfully.
  • X-rays are taken to assess the extent of joint damage, bone quality, and alignment.
  • MRI (Magnetic Resonance Imaging) may be used for a more detailed view of soft tissues and cartilage.

Anesthesia

Anesthesia plays a crucial role in joint replacement surgery to ensure that the patient remains pain-free and comfortable throughout the procedure.

  • The patient is completely unconscious and unaware during the entire surgery.
  • General anesthesia is commonly used for joint replacement surgeries, especially for procedures involving the hip or knee.
  • A breathing tube may be inserted to assist with breathing while the patient is under general anesthesia.
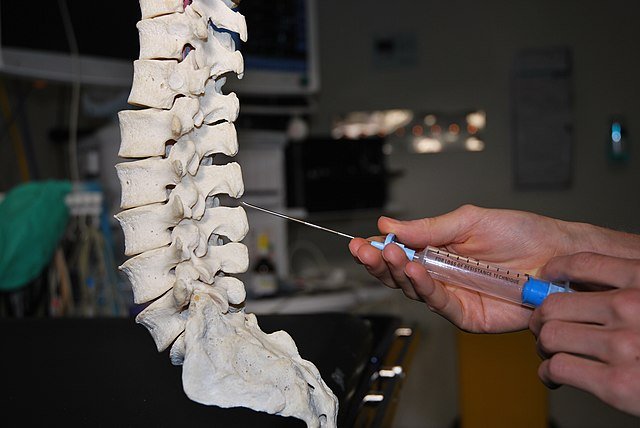
  • Anesthetic is injected near specific nerves to block sensation in a particular area.

Incision

The incision in joint replacement surgery refers to the surgical cut or opening made in the patient’s skin and underlying tissues to access the joint that needs to be replaced.

  1. Location: The surgeon carefully selects the location of the incision based on the joint involved. For example:
  • Hip Replacement :- Incisions are commonly made on the side or back of the hip.
  • Knee Replacement :- Incisions are typically made on the front of the knee.
  1. Size: Advances in surgical techniques, including minimally invasive procedures, have allowed for smaller incisions in many joint replacement surgeries. Minimally invasive approaches aim to reduce tissue damage, scarring, and recovery time.
Incision Post Surgery

Exposure of the Joint

Proper exposure is crucial for the accurate placement of the artificial joint (prosthesis) and ensures that the surgeon can perform the necessary procedures with precision.

  1. Soft Tissue Dissection :- After making the initial incision, the surgeon carefully dissects through the layers of soft tissue, such as muscles and tendons, to expose the joint. The goal is to minimize trauma to surrounding tissues while providing adequate access.
  2. Retraction :- Specialized instruments, such as retractors, are used to gently move aside muscles and other structures, providing a clear view of the joint. This step is crucial for the proper placement of the prosthesis.
  3. Capsular Incision :- In some cases, the joint capsule, a tough, fibrous structure surrounding the joint, may need to be incised to expose the joint space. This allows the surgeon to remove the damaged or diseased joint surfaces and prepare the area for the artificial joint.
  4. Bone Preparation :- Once the joint is adequately exposed, the surgeon prepares the bone surfaces to receive the artificial joint components. This may involve removing damaged cartilage and bone, shaping the bone to fit the prosthesis, and ensuring proper alignment.
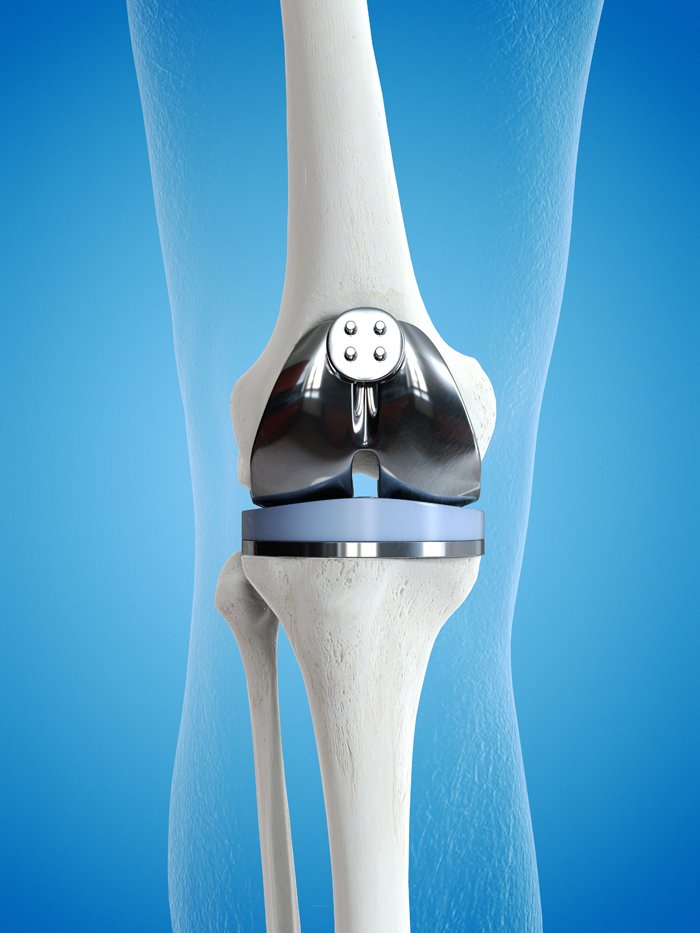
  5. Implant Placement :- The artificial joint components are then carefully inserted and secured into the prepared bone surfaces. The type of implant and the method of fixation (cemented or uncemented) depend on various factors, including the patient’s age, bone quality, and the surgeon’s preference.
  6. Closure :- After the joint replacement components are in place, the surgeon closes the incision, often using sutures or staples, and may apply dressings to the wound.

The exposure of the joint is a critical aspect of joint replacement surgery, and the surgeon’s skill and experience play a significant role in achieving optimal outcomes.

Removal of Damaged Joint Components

The removal of damaged joint components is a crucial step in joint replacement surgery.

  1. Identification of Damaged Areas:
  • Before the removal process begins, the surgeon carefully identifies and assesses the extent of damage within the joint. This evaluation is often done through a combination of preoperative imaging (such as X-rays or MRI scans) and direct visualization during surgery.
  1. Bone Resection:
  • The damaged portions of the bone are surgically removed to create a clean and healthy surface for the attachment of the artificial joint components. Precision in bone resection is critical for ensuring the proper fit and alignment of the prosthetic components.
  1. Cartilage Removal:
  • Diseased or worn-out cartilage within the joint is also removed. Cartilage serves as a protective cushion between the bones, and its deterioration is a common issue in joint diseases like osteoarthritis.
  1. Meniscus Removal (in Knee Replacement):
  • In knee replacement surgery, particularly in cases of severe arthritis or injury, damaged parts of the meniscus may be removed. The meniscus is a cartilage structure in the knee that helps distribute load and provides stability. When damaged, it can contribute to pain and restricted movement.
  1. Soft Tissue Preservation:
  • While removing damaged joint components, efforts are made to preserve as much healthy soft tissue (ligaments, tendons, and muscles) as possible.